Positional Display Applications
Running a Positional Display in a regular browser
If you want to run a Positional Display in a regular browser, the following url set up should be used:
http://[qagent_ip]:[qagent_port]/graphicalDisplay?unitId=[branchPrefix]:[unitId]
For example:
http://127.0.0.1:8080/graphicalDisplay?unitId=GBG:ServicePoint_PositionalDisplay

Note that if several Positional Displays are to be used, then you would have already given them unitId’s ending with different numbers, in your Equipment Profile and hence the url to be used must also end with the different numbers of the different Positional Displays.
For example:
http://127.0.0.1:8080/graphicalDisplay?unitId=GBG:ServicePoint_PositionalDisplay1
http://127.0.0.1:8080/graphicalDisplay?unitId=GBG:ServicePoint_PositionalDisplay2
etc
Using Multiple Surfaces
If you are using a unit type (utt) that contains multiple surfaces, such as for example a Web Service Point Terminal with a Positional Display and a Web CFU, then you need to consider the following when it comes to which url to use:
• Which device are you after?
Example 1 - To point out the Web CFU surface application in the utt WebServicePoint_PositionalDisplay_WebCFU:
A.
http://[qagent_ip]:[qagent_port]/graphicalDisplay?unitId=[branchPrefix]:[unitId]
For example:
http://localhost:8080/graphicalDisplay?unitId=GBG:WebServicePoint_PositionalDisplay_WebCFU
In this case, we are not pointing to a specific device, so the first device in the <devices> element of the unit.xml surface application, WebCFU, is selected.
B.
http://[qagent_ip]:[qagent_port]/graphicalDisplay?unitId=[branchPrefix]:[unitId]:[device type number]:[device number]
For example:
http://localhost:8080/graphicalDisplay?unitId=GBG:WebServicePoint_PositionalDisplay_WebCFU:81:1
In this case we are explicitly pointing at a specific device, using device type number and device number.
Since WebCFU is the first device, it is also possible to use a url containing only the device type number, in this case:
http://localhost:8080/graphicalDisplay?unitId=GBG:WebServicePoint_PositionalDisplay_WebCFU:81
C.
http://[qagent_ip]:[qagent_port]/graphicalDisplay?unitId=[branchPrefix]:[unitId]:[device type name]:[device number]
For example:
http://localhost:8080/graphicalDisplay?unitId=GBG:WebServicePoint_PositionalDisplay_WebCFU:POSITIONAL:1
In this case we are explicitly pointing at a specific device, using device type name and device number.
Since WebCFU is the first device, it is also possible to use a url containing only the device type name, in this case:
http://localhost:8080/graphicalDisplay?unitId=GBG:WebServicePoint_PositionalDisplay_WebCFU:POSITIONAL
Example 2 - To point out the Positional Display surface application in the utt WebServicePoint_PositionalDisplay_WebCFU:
A.
http://[qagent_ip]:[qagent_port]/graphicalDisplay?unitId=[branchPrefix]:[unitId]:[device type name]:[device number]
For example:
http://localhost:8080/graphicalDisplay?unitId=GBG:WebServicePoint_PositionalDisplay_WebCFU:81:2
Here we need to enter the whole url, including device type number, because the device is placed second in the <devices> element of unit.xml.
The same thing applies to device type name:
http://localhost:8080/graphicalDisplay?unitId=GBG:WebServicePoint_PositionalDisplay_WebCFU:POSITIONAL:2
Example 3 - Using several Units
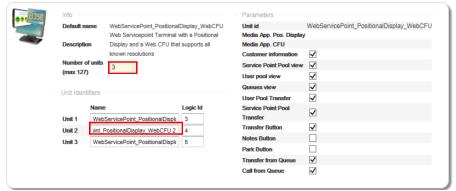
If you are using several Units, then you have entered the number of units in the configuration of the applicable Branch, as in the following picture:
In this case, the url will be as follows:
http://localhost:8080/graphicalDisplay?unitId=GBG:WebServicePoint_PositionalDisplay_WebCFU2
The rules in Example 1 and Example 2 naturally apply to this example too!
Make sure that there is no space in the Unit Id, even though there is a space in the GUI!
Creating / Editing a Positional Display Application
The procedure below is only an example of how a Positional Display can be set up.
For more information about the components mentioned in the instruction, see
“Components available in the Surface Editor” .
To create a new Surface Application for a Positional Display:
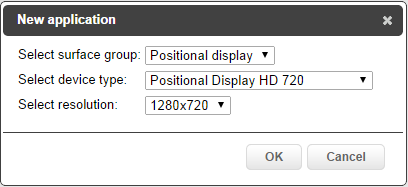
1. In the File menu, select New, then select Positional Display in the New application window. Also select device type and resolution from the drop-down lists.
If you select
Generic Positional Display as device type, the generic resolution(s) that you have created in the
Manage resolutions window will be available in the resolution drop-down list.
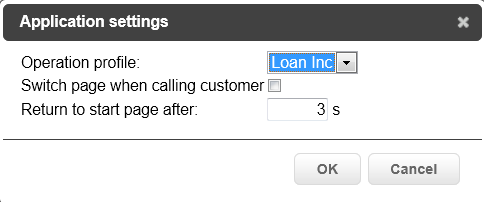
2. Next, like for all Surface Applications, select Operation profile and, optionally, change the other settings, in the Application settings window.
When you click on OK, the Start page opens. However, if you click the Pages button, the Application Pages panel, where you can also select Callpage, will be opened.
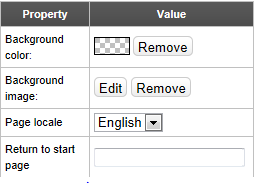
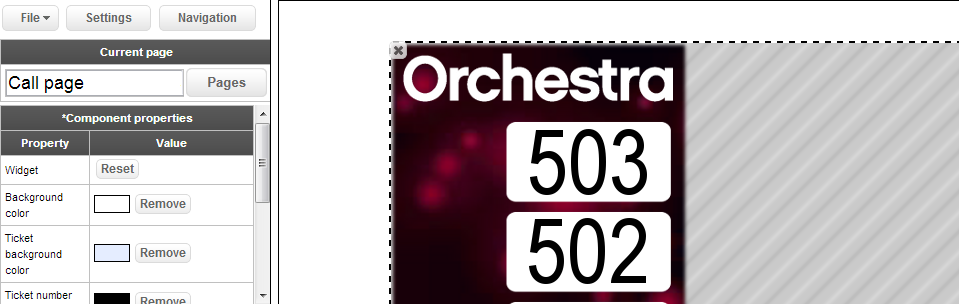
3. Click on the actual surface area. The following Component properties area will be displayed:
Here you can set Background color, Background image, Page locale and Return to startpage.
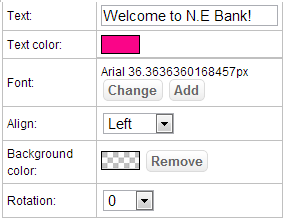
4. To add some text to the Positional Display surface, drag and drop the
Text component from the bottom left area of the page to the surface area.
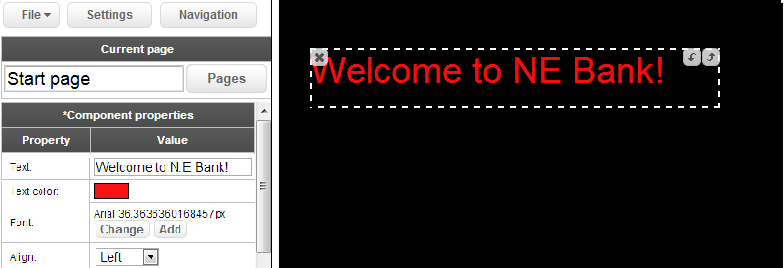
Here, it is possible to edit for example text size, text color and alignment.
The finished result could look like this:
5. Drag and drop the
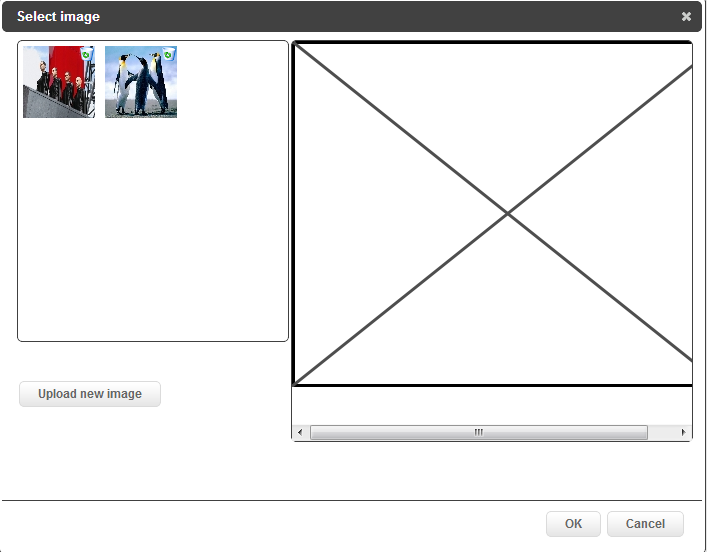
Image component from the bottom left area of the page to the surface area, to add an image to your Positional Display.
When the image place-holder is placed on the surface, the Select image window is opened:
Here you can select which image you want to upload.
In the Surface Editor, it is also possible to change a few settings for the image, such as size.
Please note that rotation of for example images cannot be properly achieved in any layouts made with browsers IE7 / IE8. The rotation property is accessible but results will be unsatisfying. 6. Next, drag and drop the
Channel Player component from the bottom left area of the page to the Positional Display Surface Application. It is possible to set the size of the Channel Player area as well as if it should be muted or not.
7. Add a
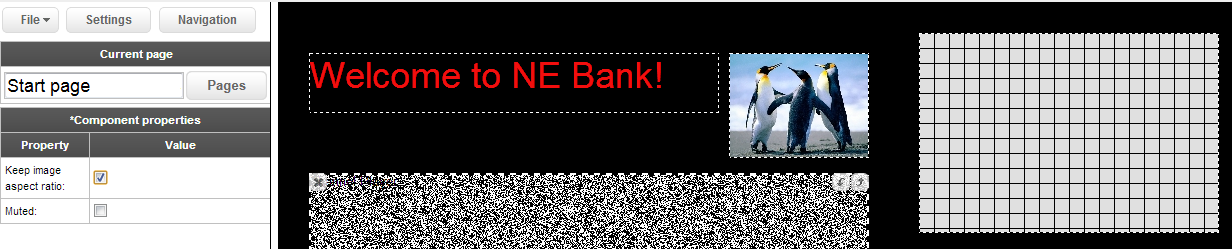
Vertical Message, by dragging and dropping that component from the bottom left area of the page to the surface area.
The finished result may look like this (note that all of the surface is not visible in the picture):
8. Switch to the Callpage, by clicking the Pages button and selecting it in the Application Pages panel.
A common use for the Callpage on a Positional Display is placing the Widget Ticket Call and a Vertical Message area on it. These components will then only be visible when a ticket is called.
9. To make the background of the Callpage transparent, click the Remove button, next to the Background color property. This will make the page look like a pop-up window.
10. Add a
Widget component to the
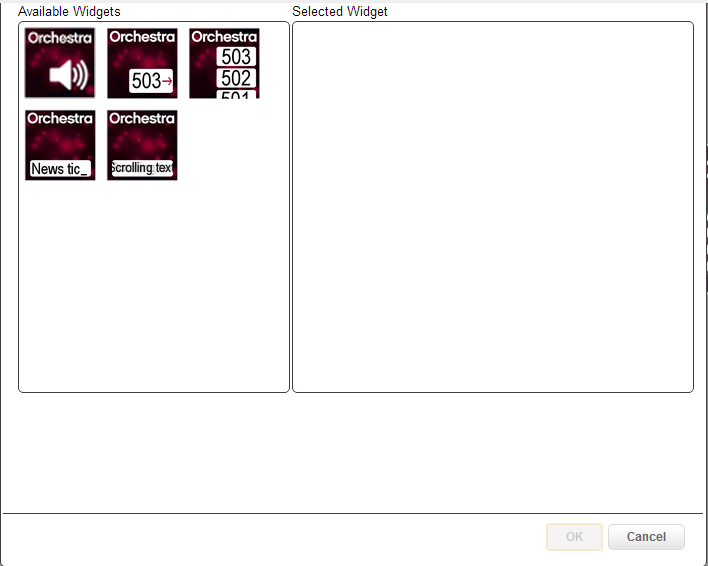
Callpage, by dragging and dropping it from the bottom left area of the page to the surface area. After the placeholder has been placed on the surface, the
Select a Widget window is opened:
Select the appropriate Widget and click OK.
11. In the Component properties area, change properties such as which text should be displayed, the color of the text, the text size and blink duration:
The finished result may look like this:
12. When done entering and editing the components to your liking, make sure you save the Surface Application before exiting the editor, by choosing Save, or Save as, in the File menu in the upper left corner of the Surface Editor.