Tickets
When a new system is started for the first time, there is a default ticket layout available in the system.
Ticket layouts determine the look of the printed ticket. Layouts are created and edited with the Surface Editor application. On the layout all components, like text, images and system information, are placed and formatted, just like with other surface types.
End users can create and edit layouts, and also insert simple system information on a ticket, like Queue number, button name and time. More advanced system information can be inserted with the help of scripts. All text, plain text as well as system information, can be formatted in normal, Microsoft Word way: font, size, bold, rotate, etc.
Ticket Images
Images for tickets can be created from ordinary pictures, for example a logotype. The format must be monochrome and Windows bitmap, bmp. The width of the printable area on a ticket is 432 pixels, and the printable height is 460 pixels for a single-ticket and 920 for a double-ticket.

Please note that rotation of for example images cannot be properly achieved in any layouts made with browsers IE7 / IE8. The rotation property is accessible but results will be unsatisfying.
Creating / Editing a Ticket Surface Application

The procedure below is only an example of how a Ticket can be set up.
For more information about the components mentioned in the instruction, see
“Components available in the Surface Editor” .
To create a new Surface Application for a Ticket:
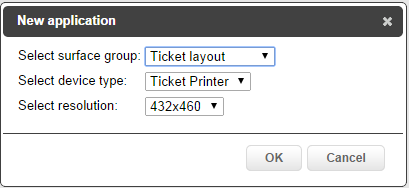
1. In the File menu, select New, then select Ticket Layout from the drop-down list, in the New application window. Also select device type and resolution from the drop-down lists. In this case, the only available choices, naturally, are Ticket Printer and 432x460.
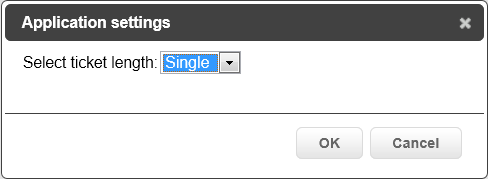
2. Next, in the Application settings window, select if the ticket length should be Single or Double, from a drop-down list.
3. To add some text to the Ticket surface, drag and drop the
Text component from the bottom left area of the page to the surface area.
The text color, font, size and properties of the text may be changed to your liking.

It is also possible to
Change the font or
Add new fonts, by clicking on the corresponding button in the Text properties window:
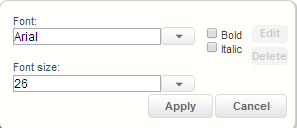
Clicking the Change button, opens the following window, where you can change font, font size and decide if the font should be Bold and/or Italic:
Here it is also possible to Edit or Delete a font that has been added.
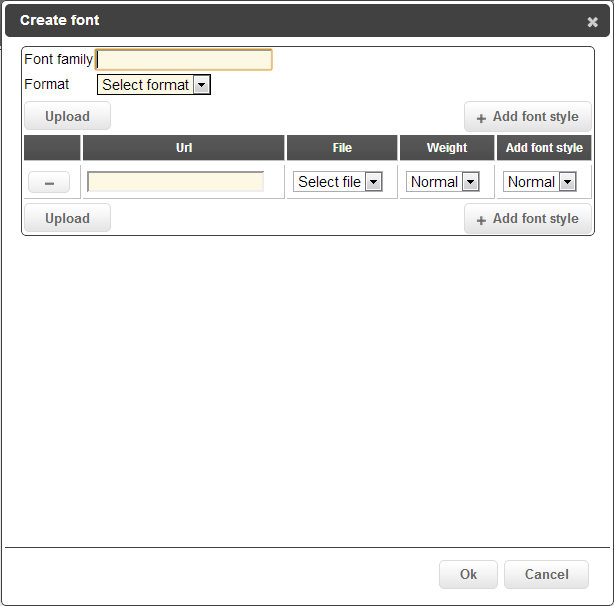
To add a font, click the Add button and the following window will be displayed:
After adding text, the finished result may look like this:
4. Next, it is time to add some System information to the ticket, simply by dragging and dropping the
System Information component from the bottom left area of the page to the surface area.
System information can be: Custom parameter, Current time, Ticket id, Service name or Current date. If Custom parameter is selected, then a valid Custom parameter name string has to be entered in the field below. These strings are found in the Unit Type template of your printer in your Equipment Profile.
5. For this example, select Ticket id from the System information drop-down list. Also, increase the text size to 48 px and change the alignment to Center, in the drop-down list.
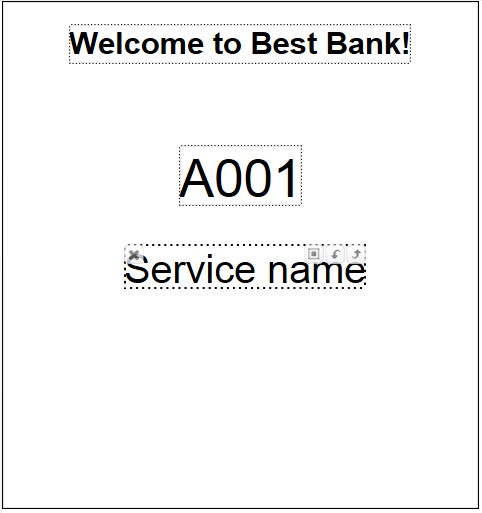
6. Add another System information component and select Service name from the drop-down list.
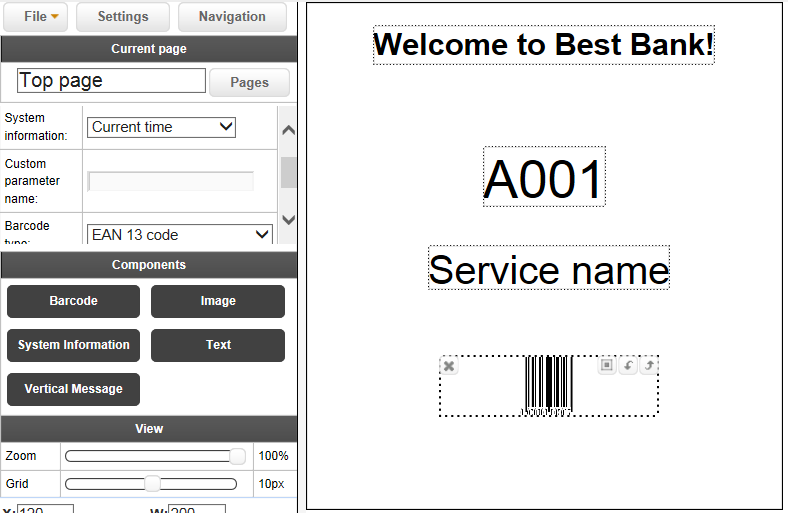
The result may look something like this:
7. Next, add a Barcode component, by dragging and dropping the
Barcode component from the bottom left area of the page to the surface area.
For barcodes, it is also possible to select which System information should be displayed, from a drop-down list.
Also, you must select which Barcode type that should be used. You can choose between: Interleaved 2/5, ITF-14, Code 39, Code 128, EAN 13 code, DataMatrix (square), DataMatrix (rectangular), and QR Code. You should also decide whether or not to use barcode checksum calculation.

Checksums are not used for all barcode types!
The finished result may look something like this:
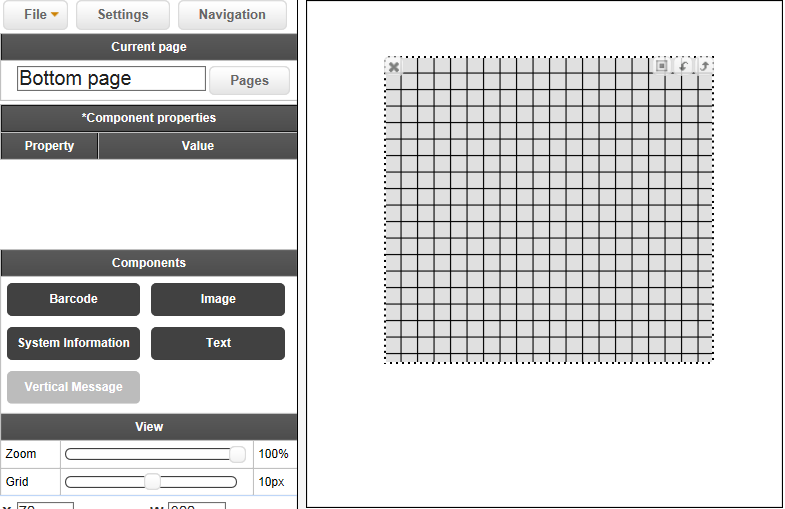
8. If you selected Double from the Ticket length drop-down list in the Application Settings window, now is the time to design the second page. To do so, click the Pages button and select the Bottom page in the Application Pages panel.
9. For example, the Bottom page of a ticket could be a suitable place for a Vertical Message or an Image, so drag and drop the wanted component to the ticket area.
The finished result could look something like this:
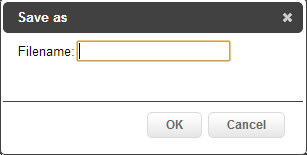
10. When done entering and editing the components to your liking, make sure you save the Ticket Surface Application before exiting the editor, by choosing Save, or Save as, in the File menu in the upper left corner of the Surface Editor.
 Please note that rotation of for example images cannot be properly achieved in any layouts made with browsers IE7 / IE8. The rotation property is accessible but results will be unsatisfying.
 Please note that rotation of for example images cannot be properly achieved in any layouts made with browsers IE7 / IE8. The rotation property is accessible but results will be unsatisfying.
 The procedure below is only an example of how a Ticket can be set up.
 It is also possible to Change the font or Add new fonts, by clicking on the corresponding button in the Text properties window:

 Checksums are not used for all barcode types!