 Upgrade directly from Orchestra 5.4 is not supported. You need to upgrade to Orchestra 6.x before upgrading to Orchestra 7. For more information, see
“Possible Upgrade Path”
  Upgrade directly from Orchestra 5.4 is not supported. You need to upgrade to Orchestra 6.x before upgrading to Orchestra 7. For more information, see
“Possible Upgrade Path”
  Please note that the Upgrade wizard will run all necessary scripts etc for you. There is no need to run any scripts manually, unless specifically stated!
  When upgrading from 6.0, the Queue Agent database will be removed.
 In the Upgrade Instructions below, the already installed version of Orchestra is named <old_version> and the version of Orchestra that you want to Upgrade to is named <new_version>.
 For an instruction about Daemon Upgrade, please refer to the Release Notes.
 For an instruction about Business Intelligence Upgrade, please refer to
“Business Intelligence” , or
“Orchestra Business Intelligence on a Separate Server” .
For an instruction about Business Intelligence Upgrade, please refer to
“Business Intelligence” , or
“Orchestra Business Intelligence on a Separate Server” .Prerequisite | Check | N/A |
Please read through the Release Notes document before the upgrade procedure is started. | ||
If you were using JBoss in Orchestra 6.x, please read the section
“Upgrading from JBoss to Wildfly” . | ||
Backup your system before an upgrade is done. | ||
If you are upgrading and your current Orchestra system is using MS SQL Server 2008, you first have to upgrade your database server, before upgrading Orchestra. (Orchestra 6.2 does not support MS SQL Server 2008.) | ||
If you have modified the shiro.ini file, you should make a copy of this file before upgrade, since it is replaced during upgrade. | ||
All distributed Queue Agents must be upgraded to the second latest version, before Central is upgraded. | ||
If you are using custom artefacts (war- and ear files), you need to undeploy them, before upgrading your system! If the custom artefacts are not undeployed they will be deployed in the wrong order during the upgrade process and this could cause severe problems. | ||
When it comes to unit type files and widgets, please read
“Unit Types” and
“Widgets” , before you begin. |
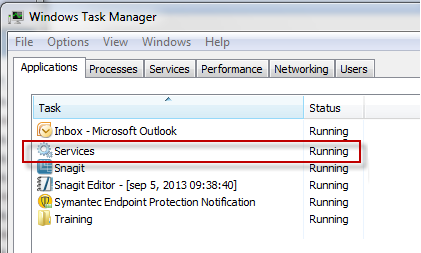
 You need to run the wizard as an administrator. Right-click on the install.bat file and select Run as administrator.
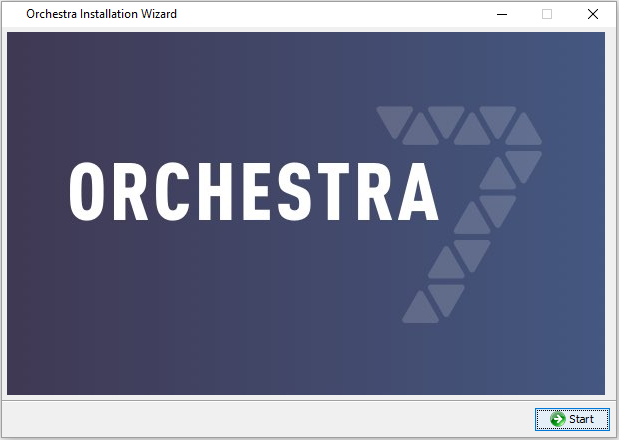 | 1. Click Start to start the upgrade. |
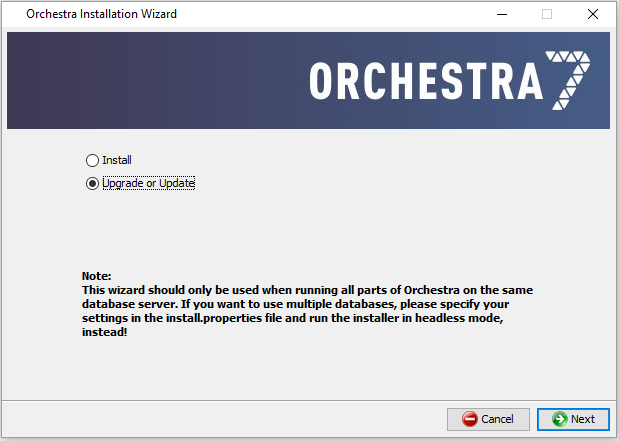 | 2. Select Upgrade or Update.  This wizard should only be used when running all parts of Orchestra on the same database server. If you want to use multiple databases, please specify your settings in the install.properties file and run the installer in headless mode instead. This wizard should only be used when running all parts of Orchestra on the same database server. If you want to use multiple databases, please specify your settings in the install.properties file and run the installer in headless mode instead. |
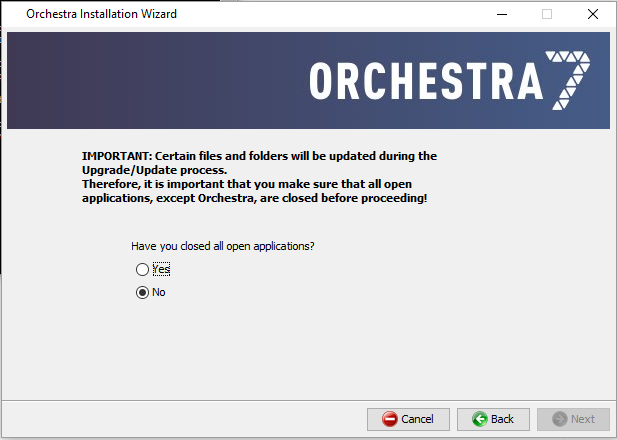 | 3. Make sure that you have closed all open applications (except Orchestra) before proceeding. |
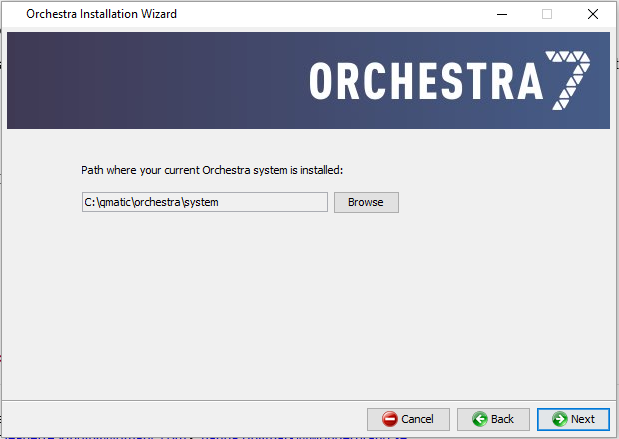 | 4. Enter the path where your current Orchestra system is installed. |
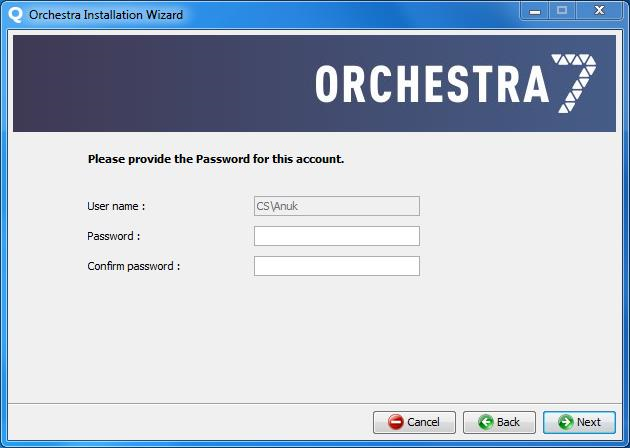 | 5. If you installed Orchestra, using SQL Server and Windows Authentication, see
“Installation Note - Windows Authentication” , you need to enter and confirm your Password in this screen.  This password needs to be the same as the one entered during installation. This password needs to be the same as the one entered during installation. |
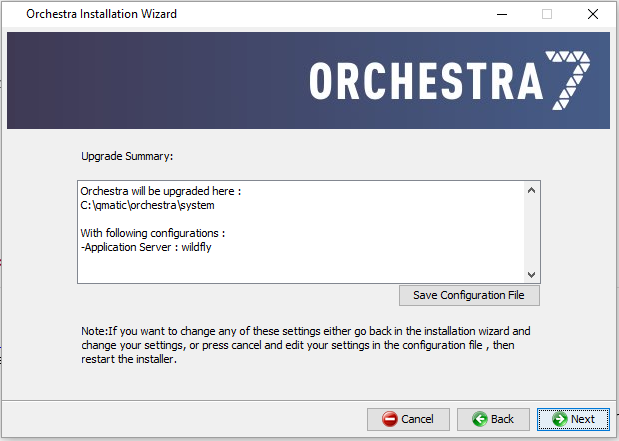 | 6. In the Upgrade Summary window, you can decide to go back and change your settings before you proceed. Also, here you can save the configuration file, if wanted. |
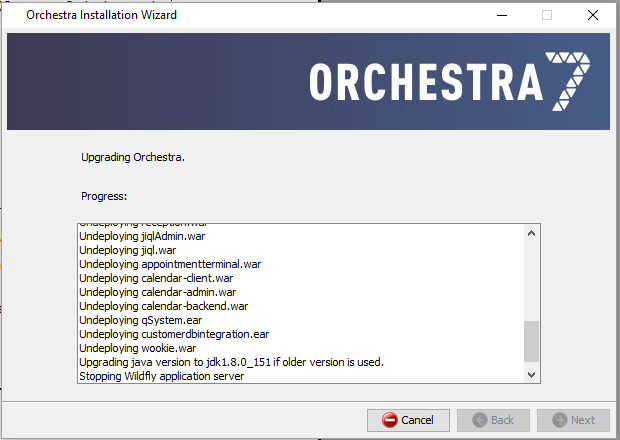 | 7. Monitor the progress of the upgrade in the next page. |
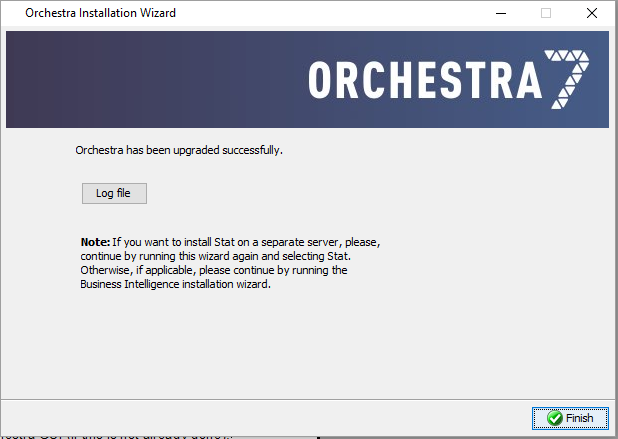 | 8. Once Orchestra is successfully upgraded, click Finish. You can also download the log file from here. |
 We recommend that you clear the cache of your browser, after the central upgrade procedure has been completed.
 Note that a new stat-jobs.xml file has been installed at <Orchestra_installation_directory>/conf/stat-jobs/<version>/. This needs to be merged with the existing stat-jobs.xml file, after upgrade, or update.
 Please read through the Release Notes document before the upgrade procedure is started.
 When it comes to unit type files and widgets, please read
“Unit Types” and
“Widgets” , before you begin.
 If you are running the Installation Wizard on Linux Server, without a graphical interface, then you must first edit the following values in the install.properties file:
 Note that a new stat-jobs.xml file has been installed at <Orchestra_installation_directory>/conf/stat-jobs/<version>/. This needs to be merged with the existing stat-jobs.xml file, after upgrade, or update.